Forums › Forums › Get Technical › Tips & Tricks › How to make a mini planet or ringworld
- This topic has 8 replies, 3 voices, and was last updated 11 years, 1 month ago by
 orionid.
-
AuthorPosts
-
March 8, 2013 at 7:19 pm #2939
CauseISaidSo
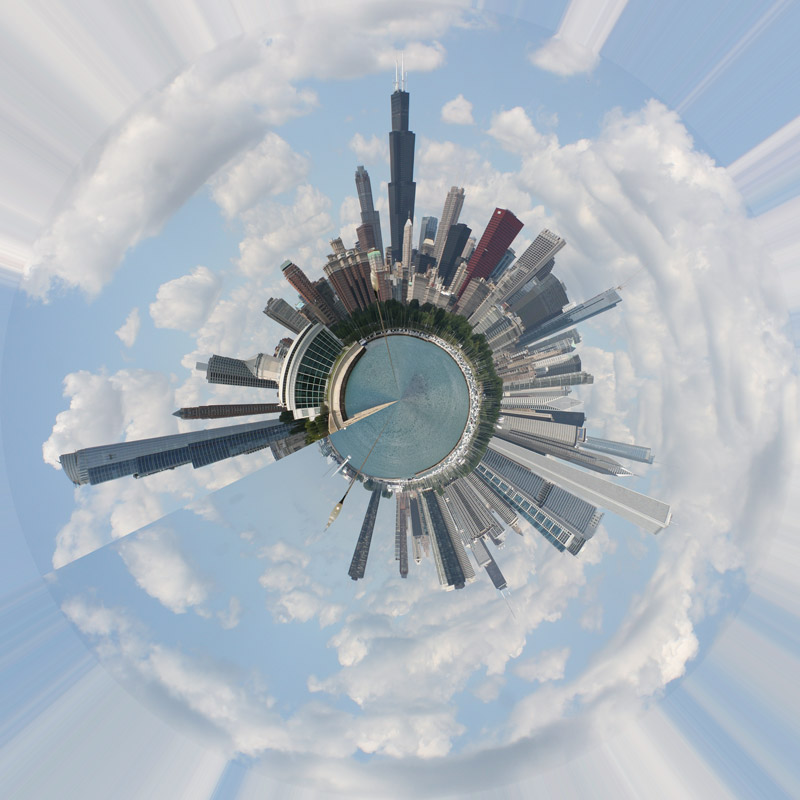
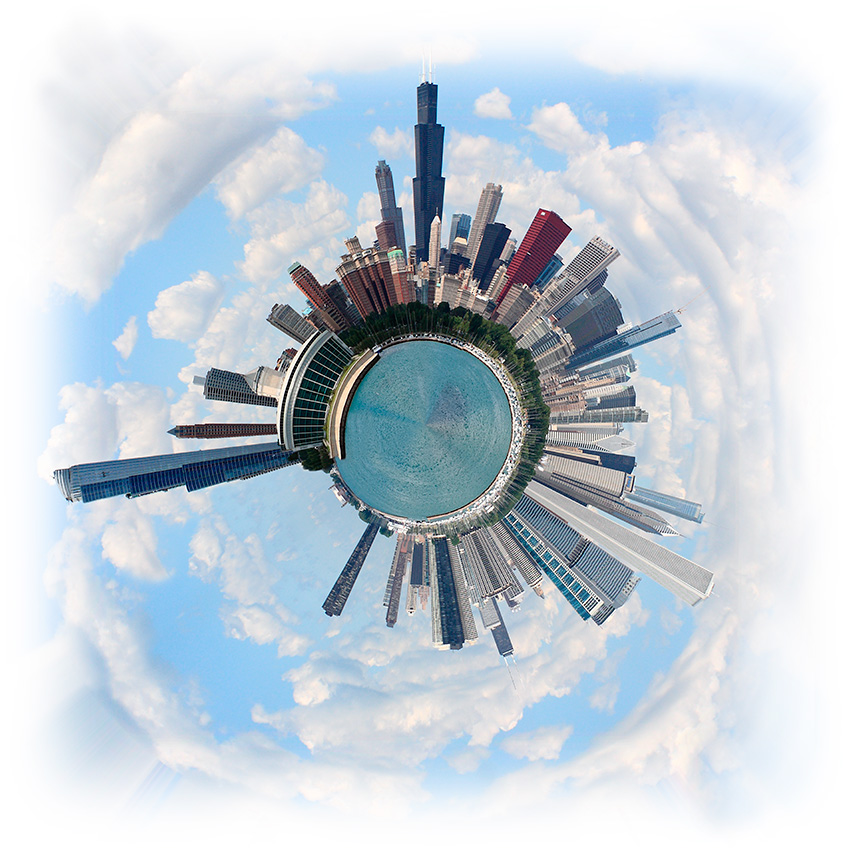
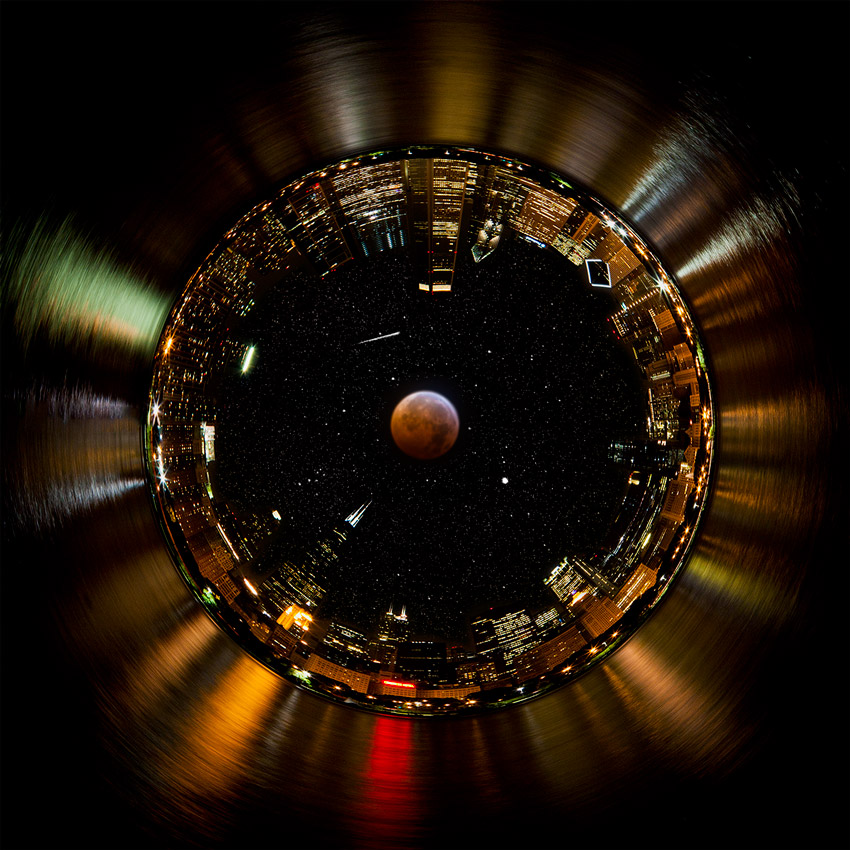
ParticipantThis is a quick tutorial on how to create a circular panorama like this or this. While I think it’s possible to use other editing apps, this tutorial assumes the use of Photoshop.
Step 1: Start with a normal panorama.
I had a five-shot panorama and used Microsoft ICE to auto-stitch it. One of the nice things about ICE (aside from the fact that it does a great job of seamlessly stitching panoramas regardless of the orientation of each shot) is that you can export the result directly to a Photoshop PSD file.
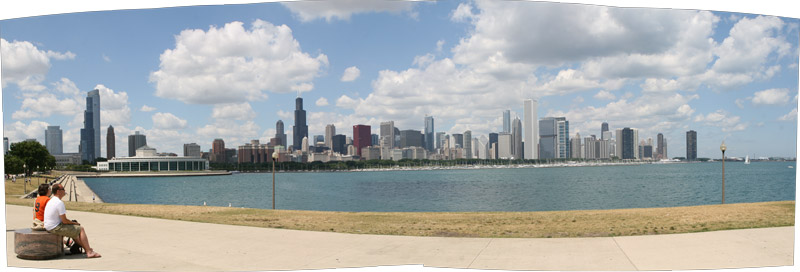
It’s not absolutely necessary to have a multi-shot panorama; a single shot will work as well as long as it’s wider than it is tall.
Tip: The wider your starting panorama is compared to its height, the more exaggerated perspective the buildings will have in the final result. Compare the exaggerated height of the buildings in the first example above (a 5-shot panorama) with those in the second example (a two-shot panorama).
March 8, 2013 at 7:24 pm #50873ParticipantStep 2: Crop and align the horizon.
Open the panorama in Photoshop and crop it as desired. Keep in mind the tip from step 1; cropping close to the buildings will make them seem taller.
After you’ve got a rough initial crop, drag a guide line from the ruler and use it to rotate the panorama to align the horizon on both sides (if necessary). These two sides will meet up in the final result, so it’s critical that they’re aligned.
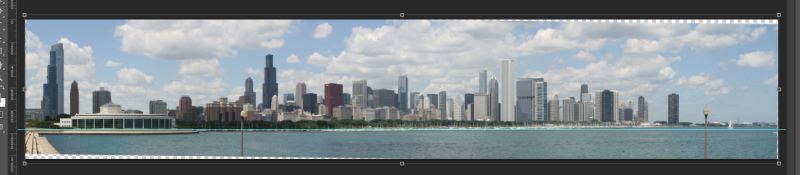
Crop again if necessary to remove any transparent regions introduced by the rotation.
March 8, 2013 at 7:38 pm #50874ParticipantStep 3: Make the ends seamless.
The left and right ends of the panorama are going to meet up together in the final result, so they need to merge seamlessly. You can do this by editing both ends separately, but I found it a lot easier to segment the panorama into two pieces and then shift those pieces so that the ends meet up.
The left and right ends will meet at the “north pole”, so decide what you want to be there. In my case, I wanted the Willis/Sears Tower to be at due north so I split my panorama like so:

Note that I split the image from step 2 into two pieces right in the middle of the Willis Tower, shifted the right piece to the far left and then moved the left piece to the far right.
And now for the magic. This is like “Step 2: ???” of the underpants gnome meme or “this exercise left to the reader” in college textbooks. I didn’t save any of my intermediate work and I’m damn sure not about to reproduce it for this tutorial 😉 (it was hours and hours), but you’ve got to edit that seam where the two pieces meet so that it looks continuous.
For Planet Chicago, I copied a section of the image containing the right half of the Shedd Aquarium (the circular building), flipped it horizontally and pasted it on top of the left section so that the water was continuous and then edited the horizons so join together and partially erased the background so that the original background buildings showed through. I also removed the lamp posts as they otherwise get really large and obtrusive in the final result.
March 8, 2013 at 7:51 pm #50875ParticipantStep 4: Stretch and distort.
Rotate your now seamless panorama 180 degrees so that it’s upside down and then resize it to be square. (In Photoshop, clear the “Constrain Proportions” checkbox so that you can resize without regard to original scale.)
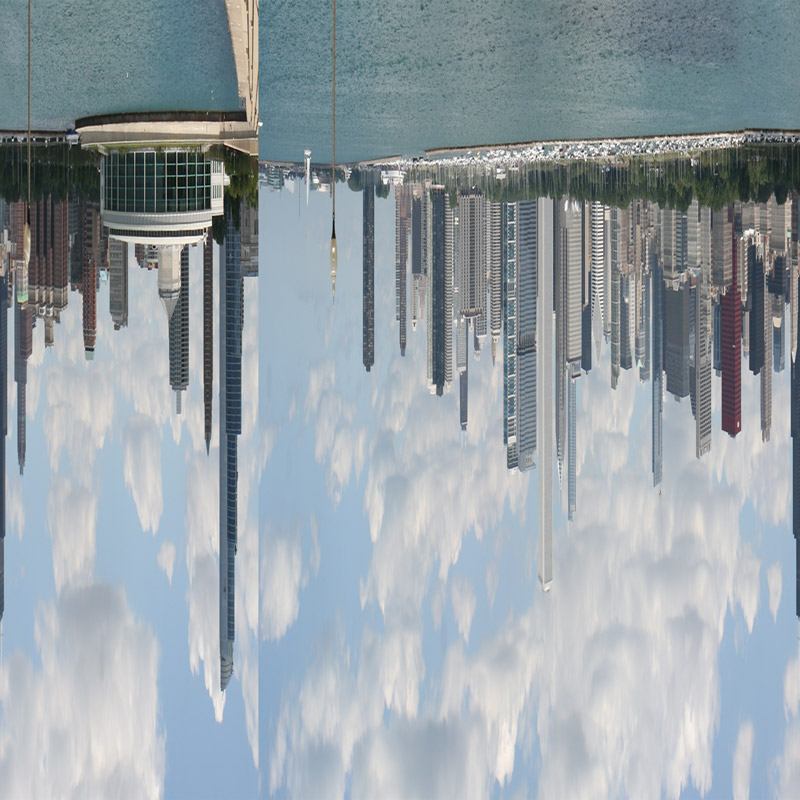
From the Filter menu, choose Distort/Polar Coordinates…, make sure “Rectangular to Polar” is selected and then click OK.
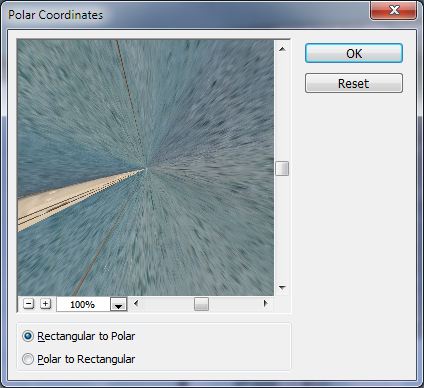
Et voila! (Note that this shows what happens if you don’t make the join seamless.)
To make a ringworld instead of a planet, don’t rotate the image before stretching it square.
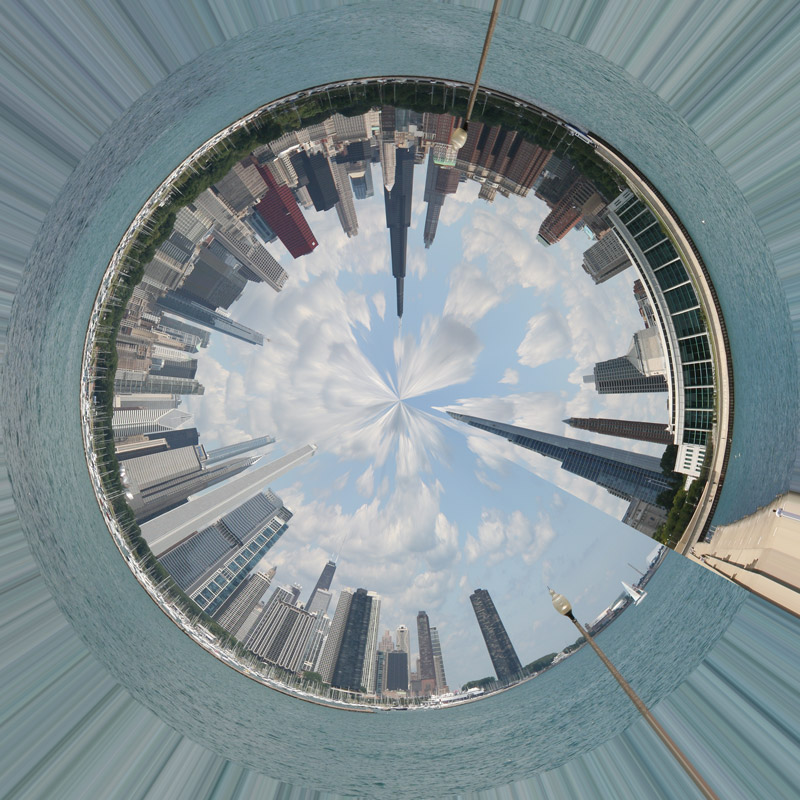
For Planet Chicago, I added a white vignette to hide the distortion lines around the edges. For Ringworld Chicago, I included more of the reflections/water below the buildings in the rectangular panorama and then cropped out the edge distortion.
March 9, 2013 at 1:40 am #50876swampa
ParticipantThanks so much for this – more time I don’t have down the drain 😀
March 9, 2013 at 7:26 am #50877ParticipantMy pleasure. If you come up with anything particularly interesting or cool, please share!
March 12, 2013 at 5:01 am #50878 orionidParticipant
This is one I did the same way a few years back.
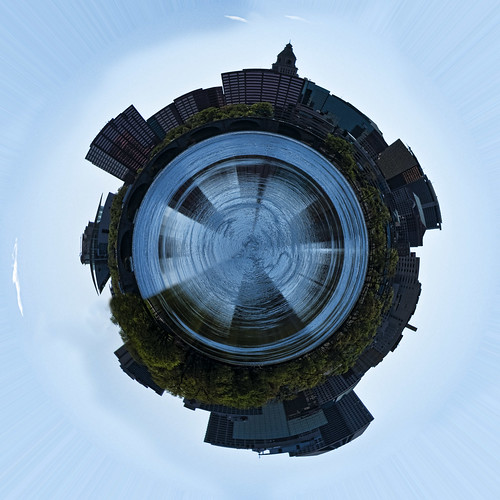
Planet Hartford by Orionid, on FlickrAnd then the waves came:
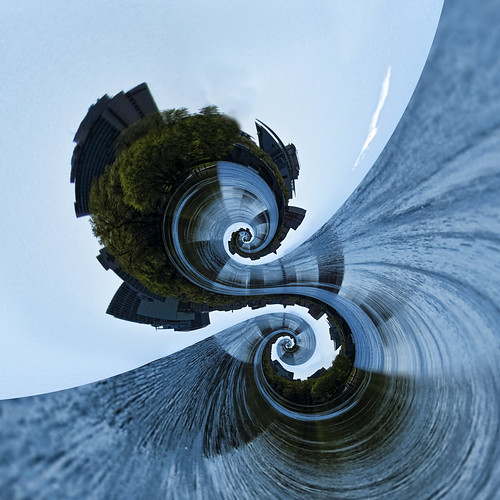
Warped Hartford by Orionid, on FlickrAnd then things got fractal:
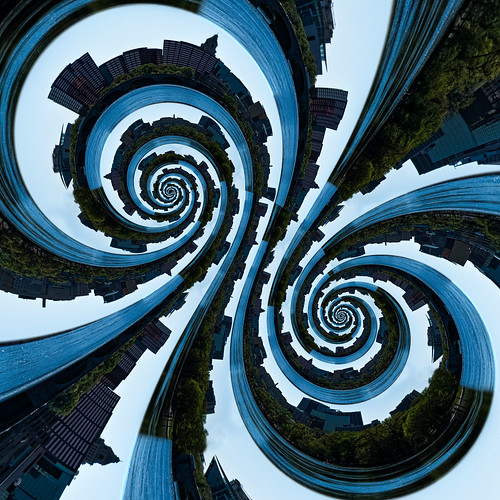
Twisty City by Orionid, on FlickrMarch 12, 2013 at 6:01 am #50879ParticipantThat’s pretty cool. That last one evokes Tim Burton to me for some reason – anybody else get that?
Also, is that the same droste effect you used previously for your “infinite scream”?
March 12, 2013 at 6:17 am #50880orionidParticipantAlso, is that the same droste effect you used previously for your “infinite scream”?
Yeah, same plugin, different function. And now that you mention it, I can totally see Burton, too.
-
AuthorPosts
- The topic ‘How to make a mini planet or ringworld’ is closed to new replies.